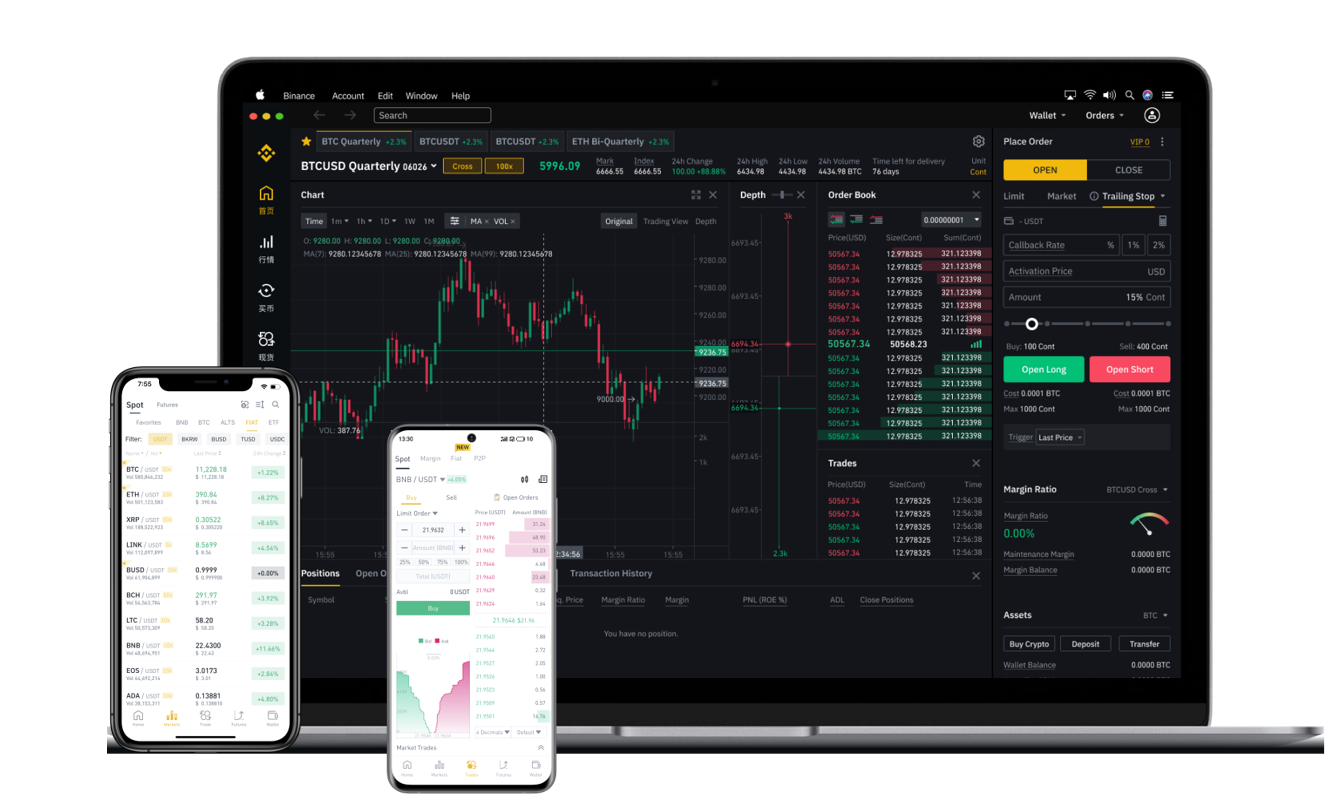


Binance Cloud Exchange is a white-label solution that allows partners to build their own digital asset trading platforms, leveraging Binance’s liquidity, security, and matching engine. For users trading on these partner exchanges, understanding how to withdraw funds is essential. The process is similar to withdrawing from the main Binance platform, but there are a few specific steps and considerations you need to follow. This guide will walk you through the key methods and requirements for a successful withdrawal.
**First, Log In and Verify Your Account**
Before you can withdraw any cryptocurrency from a Binance Cloud Exchange, you must complete the account verification (KYC) process required by that specific partner exchange. While the underlying technology is from Binance, the compliance requirements may vary. Once your account is verified and funded, navigate to the wallet or asset section. Look for "Withdraw" or the withdrawal icon next to the specific cryptocurrency you want to move.
**Step 2: Choose Your Withdrawal Method**
Binance Cloud Exchange typically supports two main withdrawal methods:
- **On-chain withdrawal:** This sends your crypto to an external wallet address on the blockchain. You will need to copy the correct wallet address and select the appropriate network (e.g., ERC20, BEP20, TRC20). Always double-check the network match to avoid losing funds.
- **Internal transfer:** If you are sending funds to another user on the same Cloud Exchange or to a Binance main platform account, you can often use an internal transfer, which is usually faster and has zero or lower fees.
**Step 3: Enter Withdrawal Details**
For on-chain withdrawals, paste the recipient’s wallet address carefully. You may also use a QR code scanner if supported. Enter the amount you wish to withdraw, noting any minimum withdrawal limits and daily caps. The exchange will display the network fee and the final amount you will receive. If you are withdrawing a large sum, it is wise to start with a small test transaction to confirm the address is correct.
**Step 4: Complete Security Verification**
To protect your account, the cloud exchange will require two-factor authentication (2FA). This usually involves an SMS code or a code from an authenticator app like Google Authenticator. Some exchanges may also require email confirmation. Have your 2FA device ready and enter the code within the time limit.
**Step 5: Confirm and Monitor the Transaction**
After submitting the withdrawal request, review all details on the confirmation screen. Once you click "Confirm," the transaction is submitted to the blockchain. The processing time varies by network; for example, Bitcoin withdrawals may take 30-60 minutes, while BEP-20 transfers are often seconds. You can track the status in your withdrawal history using the transaction ID (TXID).
**Important Tips for a Safe Withdrawal**
- **Always check the network fee.** Some networks (like Ethereum) can be expensive during high congestion. Consider using a cheaper network like BSC (Binance Smart Chain) or Tron for stablecoins.
- **Be aware of the minimum withdrawal amount.** If your balance is below the threshold, you cannot withdraw.
- **Use whitelist addresses if available.** Some cloud exchanges allow you to whitelist trusted withdrawal addresses, adding an extra layer of security.
- **Contact customer support if needed.** If your withdrawal fails or is stuck, the partner exchange’s support team is the first point of contact, as they manage user accounts directly.
**Final Thoughts**
Withdrawing from a Binance Cloud Exchange is straightforward once you understand the steps. The key takeaway is to always verify the withdrawal address, network, and fee before confirming. By using security features like 2FA and address whitelisting, you can ensure your digital assets move safely to your personal wallet. Whether you are cashing out to fiat or moving funds for storage, following this guide will help you complete the process without issues.